Follow my blog with Bloglovin
Monday, October 23, 2017
Sunday, October 22, 2017
Reason for another deletion
reasons for a tutorial deletion
Reasons for an Rdio tutorial deletion and why I'll be doing various other Tutorials in the future
The reasons why I deleted an Rdio tutorial are because Rdio was acquired by Pandora, and I made a tutorial on how to import Rdio stations to Pandora when Rdio shuts down. Sometimes, when an internet radio service like Rdio is acquired by somebody like Pandora Radio or when a music site like Grooveshark is shut down because of copyright infringement your site needs to adapt to such changes. In the future, I'll be showing you how to create Pandora Stations, register for a myentune.com or myuvo.com account if I send you an invitation and depending on what type of car I get, how to pair your phone to said car system and how to link accounts such as Pandora, iHeartRadio, Slacker, and FaceBook Places.
Also I'll be showing you how to turn your car into a rolling night club and make it give you a back massage using speed sensitive volume and 0 bass. I might also do some Apple Music tutorials, like saving music content to your library.
Those are my reasons why I deleted an Rdio tutorial.
[Heateor-SC]
Create smart playlists to differentiate between Apple Music and iTunes Match music
Disclaimer
My tutorial comes from Create Smart Playlists to find which of your songs are Apple Music, in the cloud, and more only my tutorial uses a more step-by-step approach.
HouseKeeping
If you go to my website Joshua’s Tech Tutorial Bootcamp and look at the top of the sidebar you’ll see
 feel free to click on that donate button and donate to the cause above it. If you ever want to start and host a website on a reliable shared server you can upgrade later I’d recommend
  the banner you can click on for a good deal through me which is found underneath
  also on the sidebar. Also be sure to like me on Facebook by clicking the like button inside this
  , and follow me on twitter by clicking on
  area you’ll find a playlist
  where you can feel free and preview the songs I have in there right now, along with two banners:
  and
and  , feel free to listen to these artists. If you like my website feel free to sign my guestbook
  .
.Intro
Ever wonder where your music gets stored whether you’re subscribed to iTunes match or apple music? If you’re subscribed to iTunes match, it will attempt to match all the songs you currently own with songs available on the iTunes Store, the rest are uploaded to your iCloud music library the original songs stay where they are. The same goes for Apple Music except for the songs you own are matched with songs in the Apple Music library, the only caveat with having just Apple music once you download those songs which you add to your library a little thing called DRM(digital rights management) is added so you don’t willy-nilly run off and use the songs. To differentiate between the two I’m going to show you how to create smart playlists for iTunes match and Apple music respectively.
Tutorial Requirements
- an Apple music/iTunes match subscription
- the ability to create smart playlists like
and
.

Instructions
To make a smart playlist for Apple music:
- click on
and select new smart playlist.
- make the first condition
.
- click
and make the other condition
.
- Click
and you should get something like
To make a smart playlist for iTunes match:
- click on
- make the first condition
.
- hit the option key until you get … click that and make the nested condition
.
- Set the first nested condition to
.
- click
and set the second nested condition to
.
- click
again and set the last nested condition to
.
- click
and you should get something like
.
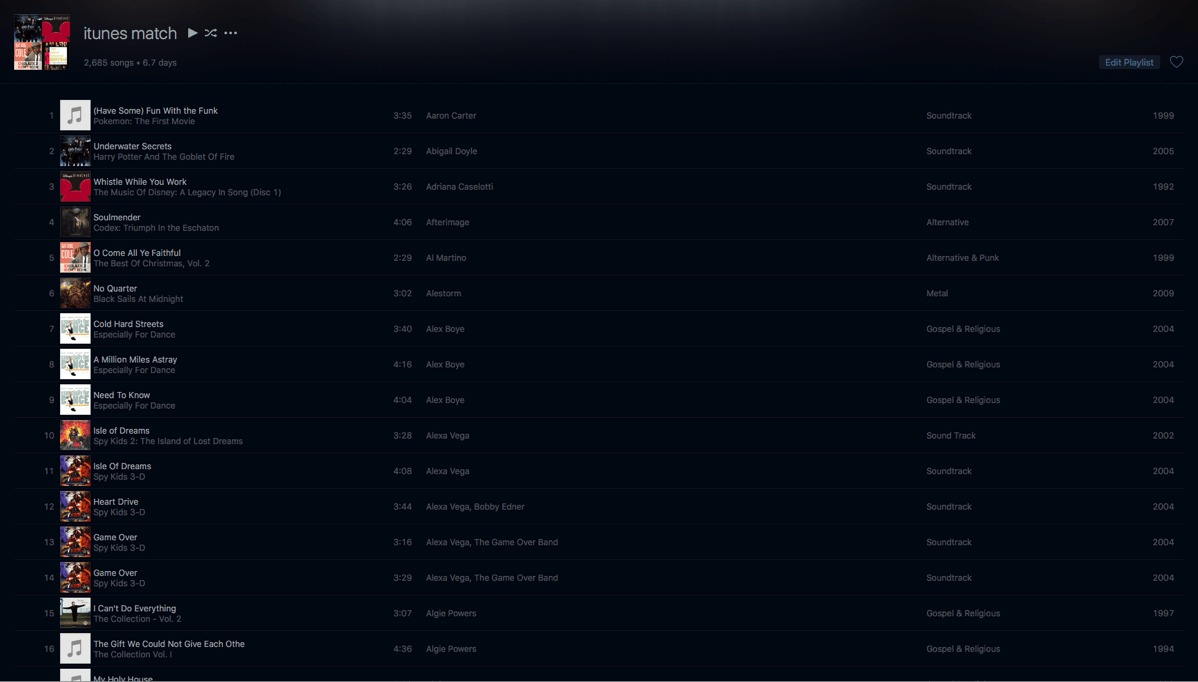
Conclusion
There you have it two smart playlists to differentiate between iTunes match and Apple music, and (going off on a tangent here) whether or not you’re subscribed to either iTunes match or Apple music or both I found out they actually work together even though they’re separate services.
tutorials update
Tutorials Update
Tutorials sometimes need to be updated. The reason why I updated the Dvd Backup and sync to iPod/iPad tutorial is because some people don’t have the software I previously mentioned (myself included) while some people do. It really depends on the machine you are on whether it is a mac or pc. In the future, I'll update some more tutorials to keep up with the technology of the day. I might even show you how to create a podcast logo.
Any tutorial requests can be made on Facebook at my Facebook page mytutorialpodcast. Either that or once I get tutorials posted on my youtube channel put any tutorial you want to see in the comment section of the tutorial you will be watching.
Create a Portfolio of the Programming Projects you accomplished
Housekeeping
If you go to my website at Joshua’s Tech Tutorials and at the top of the sidebar you see
 with
with  feel free to donate. Also if you want a shared web host you can upgrade to either VPS or dedicated hosting at a later time I recommend Bluehost and if you want to get their hosting cheap through me just look in the sidebar underneath
  and you should see
  just click on that banner to sign up through me. If you want to shop on amazon through me I have some links for you to click on. One is on the sidebar:
 . Also feel free to click on any google ads like
  . I’m also giving away a 30-day free trial at audible.com just click this banner
  to sign up for said trial. Also I’m now an iTunes affiliate meaning when I post a link or a banner for a song or album:
  you can essentially help me out by buying those albums through me and soon I’ll add a music playlist on my site for you to peruse but in the mean time feel free to buy any albums movies or tv shows that appear on my sidebar. One last thing if you look in the footer of my site you will see
  if you do feel free to sign it.
Intro
For all you programmers and web developers with a wordpress blog or site how would you like to create a portfolio of all the Programming Projects you accomplished? Well in this tutorial I’m going to show you how to create that portfolio and then add a project to that portfolio.
Tutorial Requirements
All you need for this tutorial is
- a wordpress site with the WP-GeSHi-Highlight and Jetpack plugins installed
Instructions
For this tutorial to work you need to
- login to your wordpress dashboard.
- select the
section of the settings menu.
- Check
.
- click
.
- You should see
, and when hovering over that image
.
- Select all projects. Here’s an example of some projects I added to my portfolio:
- click
.
- switch to the
view so you can see what code you want to show off.
- Enter a title here:
.
- Type
and
.
- Copy and Paste any code you want into your project. I chose
.
- Click
.
- Edit the project to your liking.
- If you’re satisfied with it click
.
- click
to view your project.


Conclusion
There you have it. A portfolio with all the programming projects that have been accomplished.
Subscribe to:
Comments (Atom)

-
podcast intro Ever get the idea that you've been pranked alot but you can't seem to get back at the person by pranking them yourself...
-
Intro Have you ever wanted to use Dreamweaver CS6 to create a web portfolio of only your best work whether you are a Photographer, Graphic D...
-
Intro Ever wanted to listen to a playlist you created with spotify but didn’t know how to create one or what songs to add? In this tutorial...


